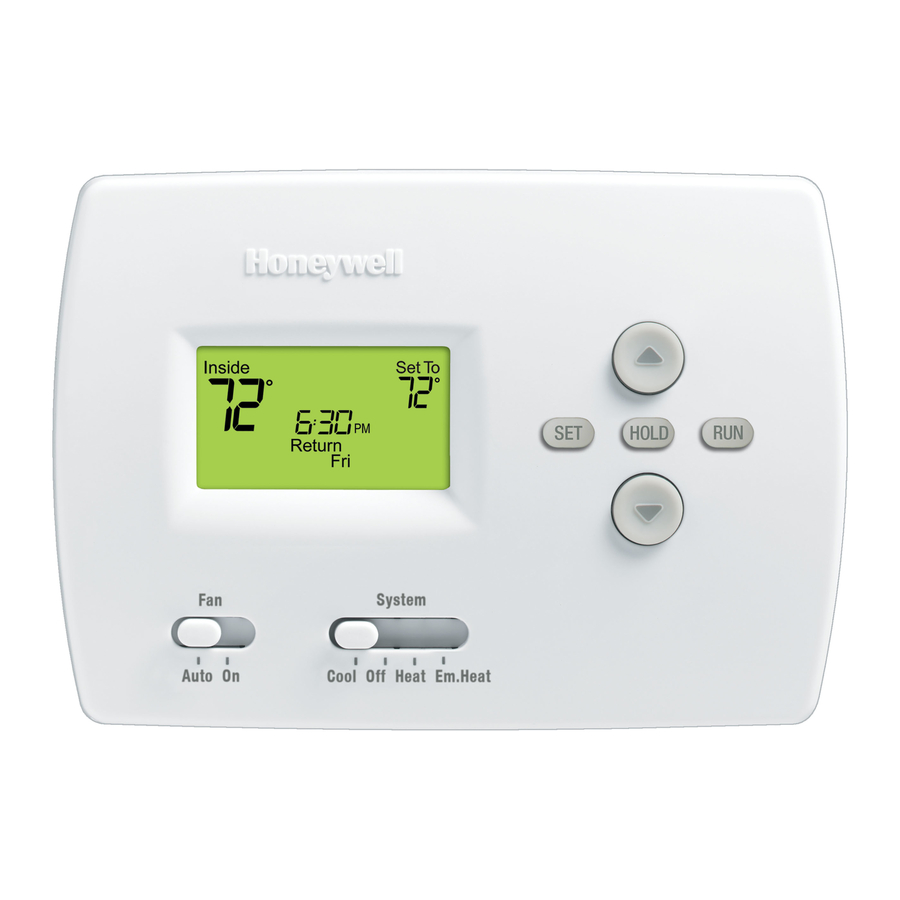
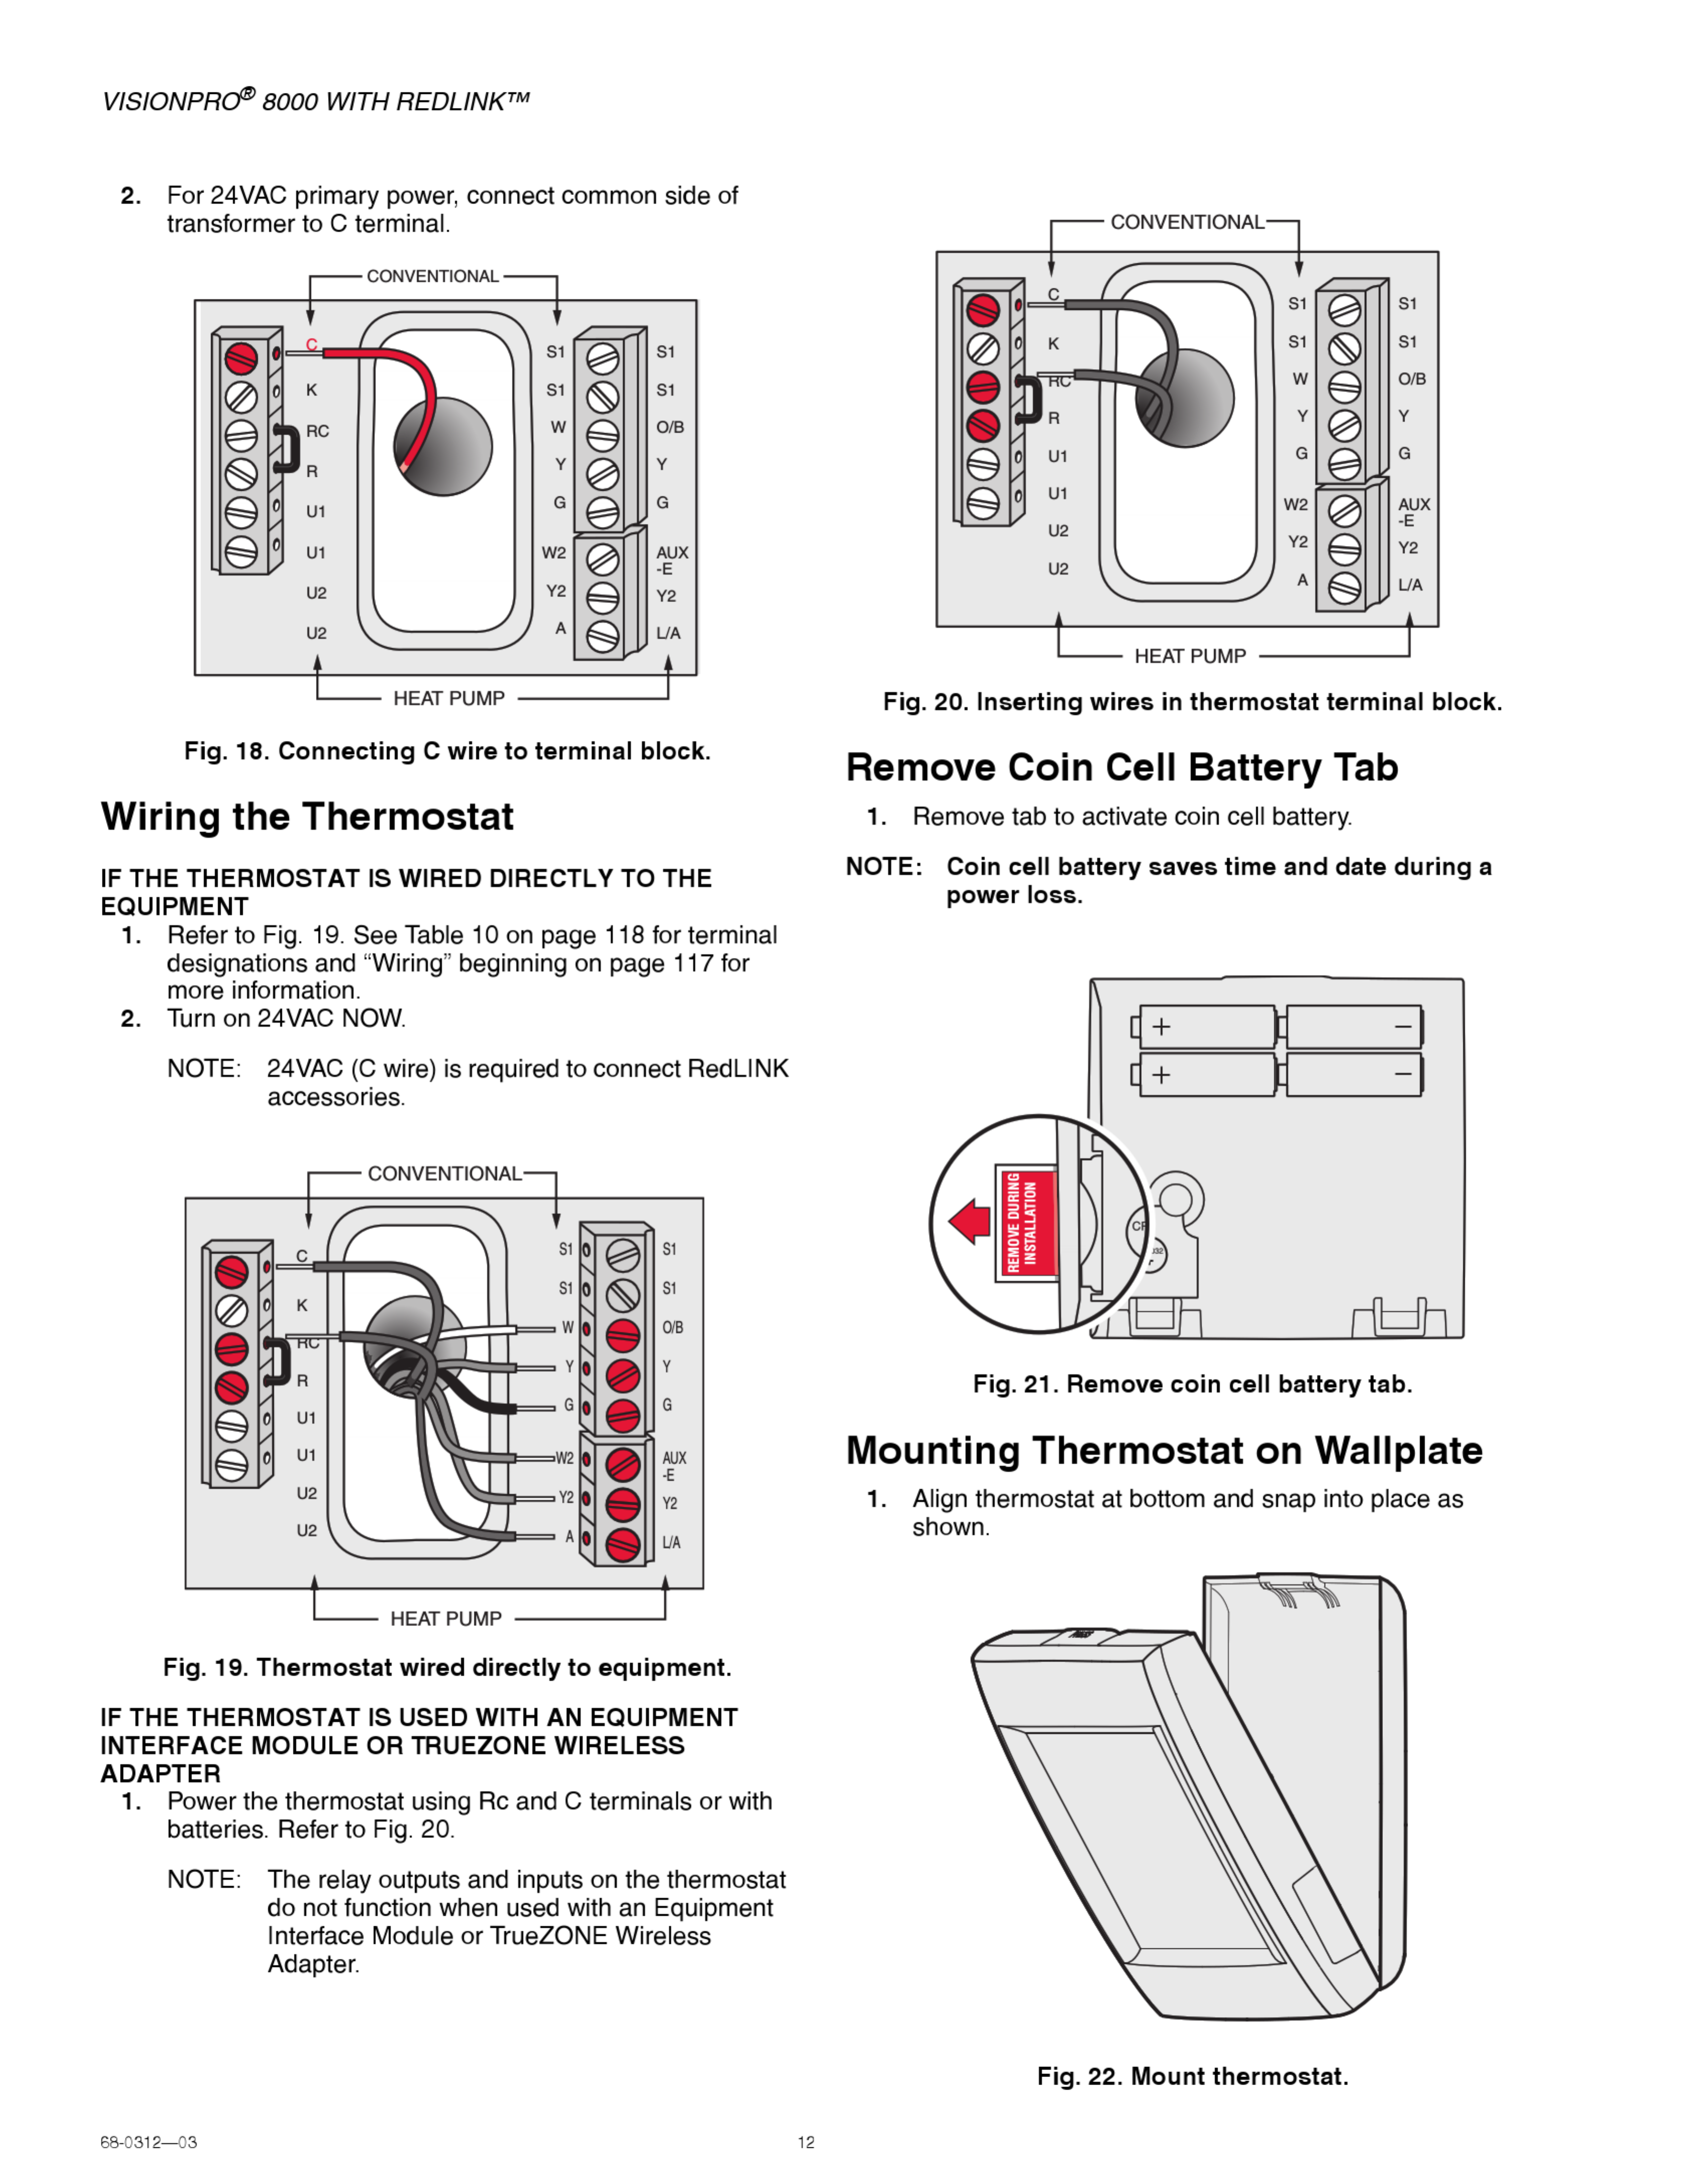
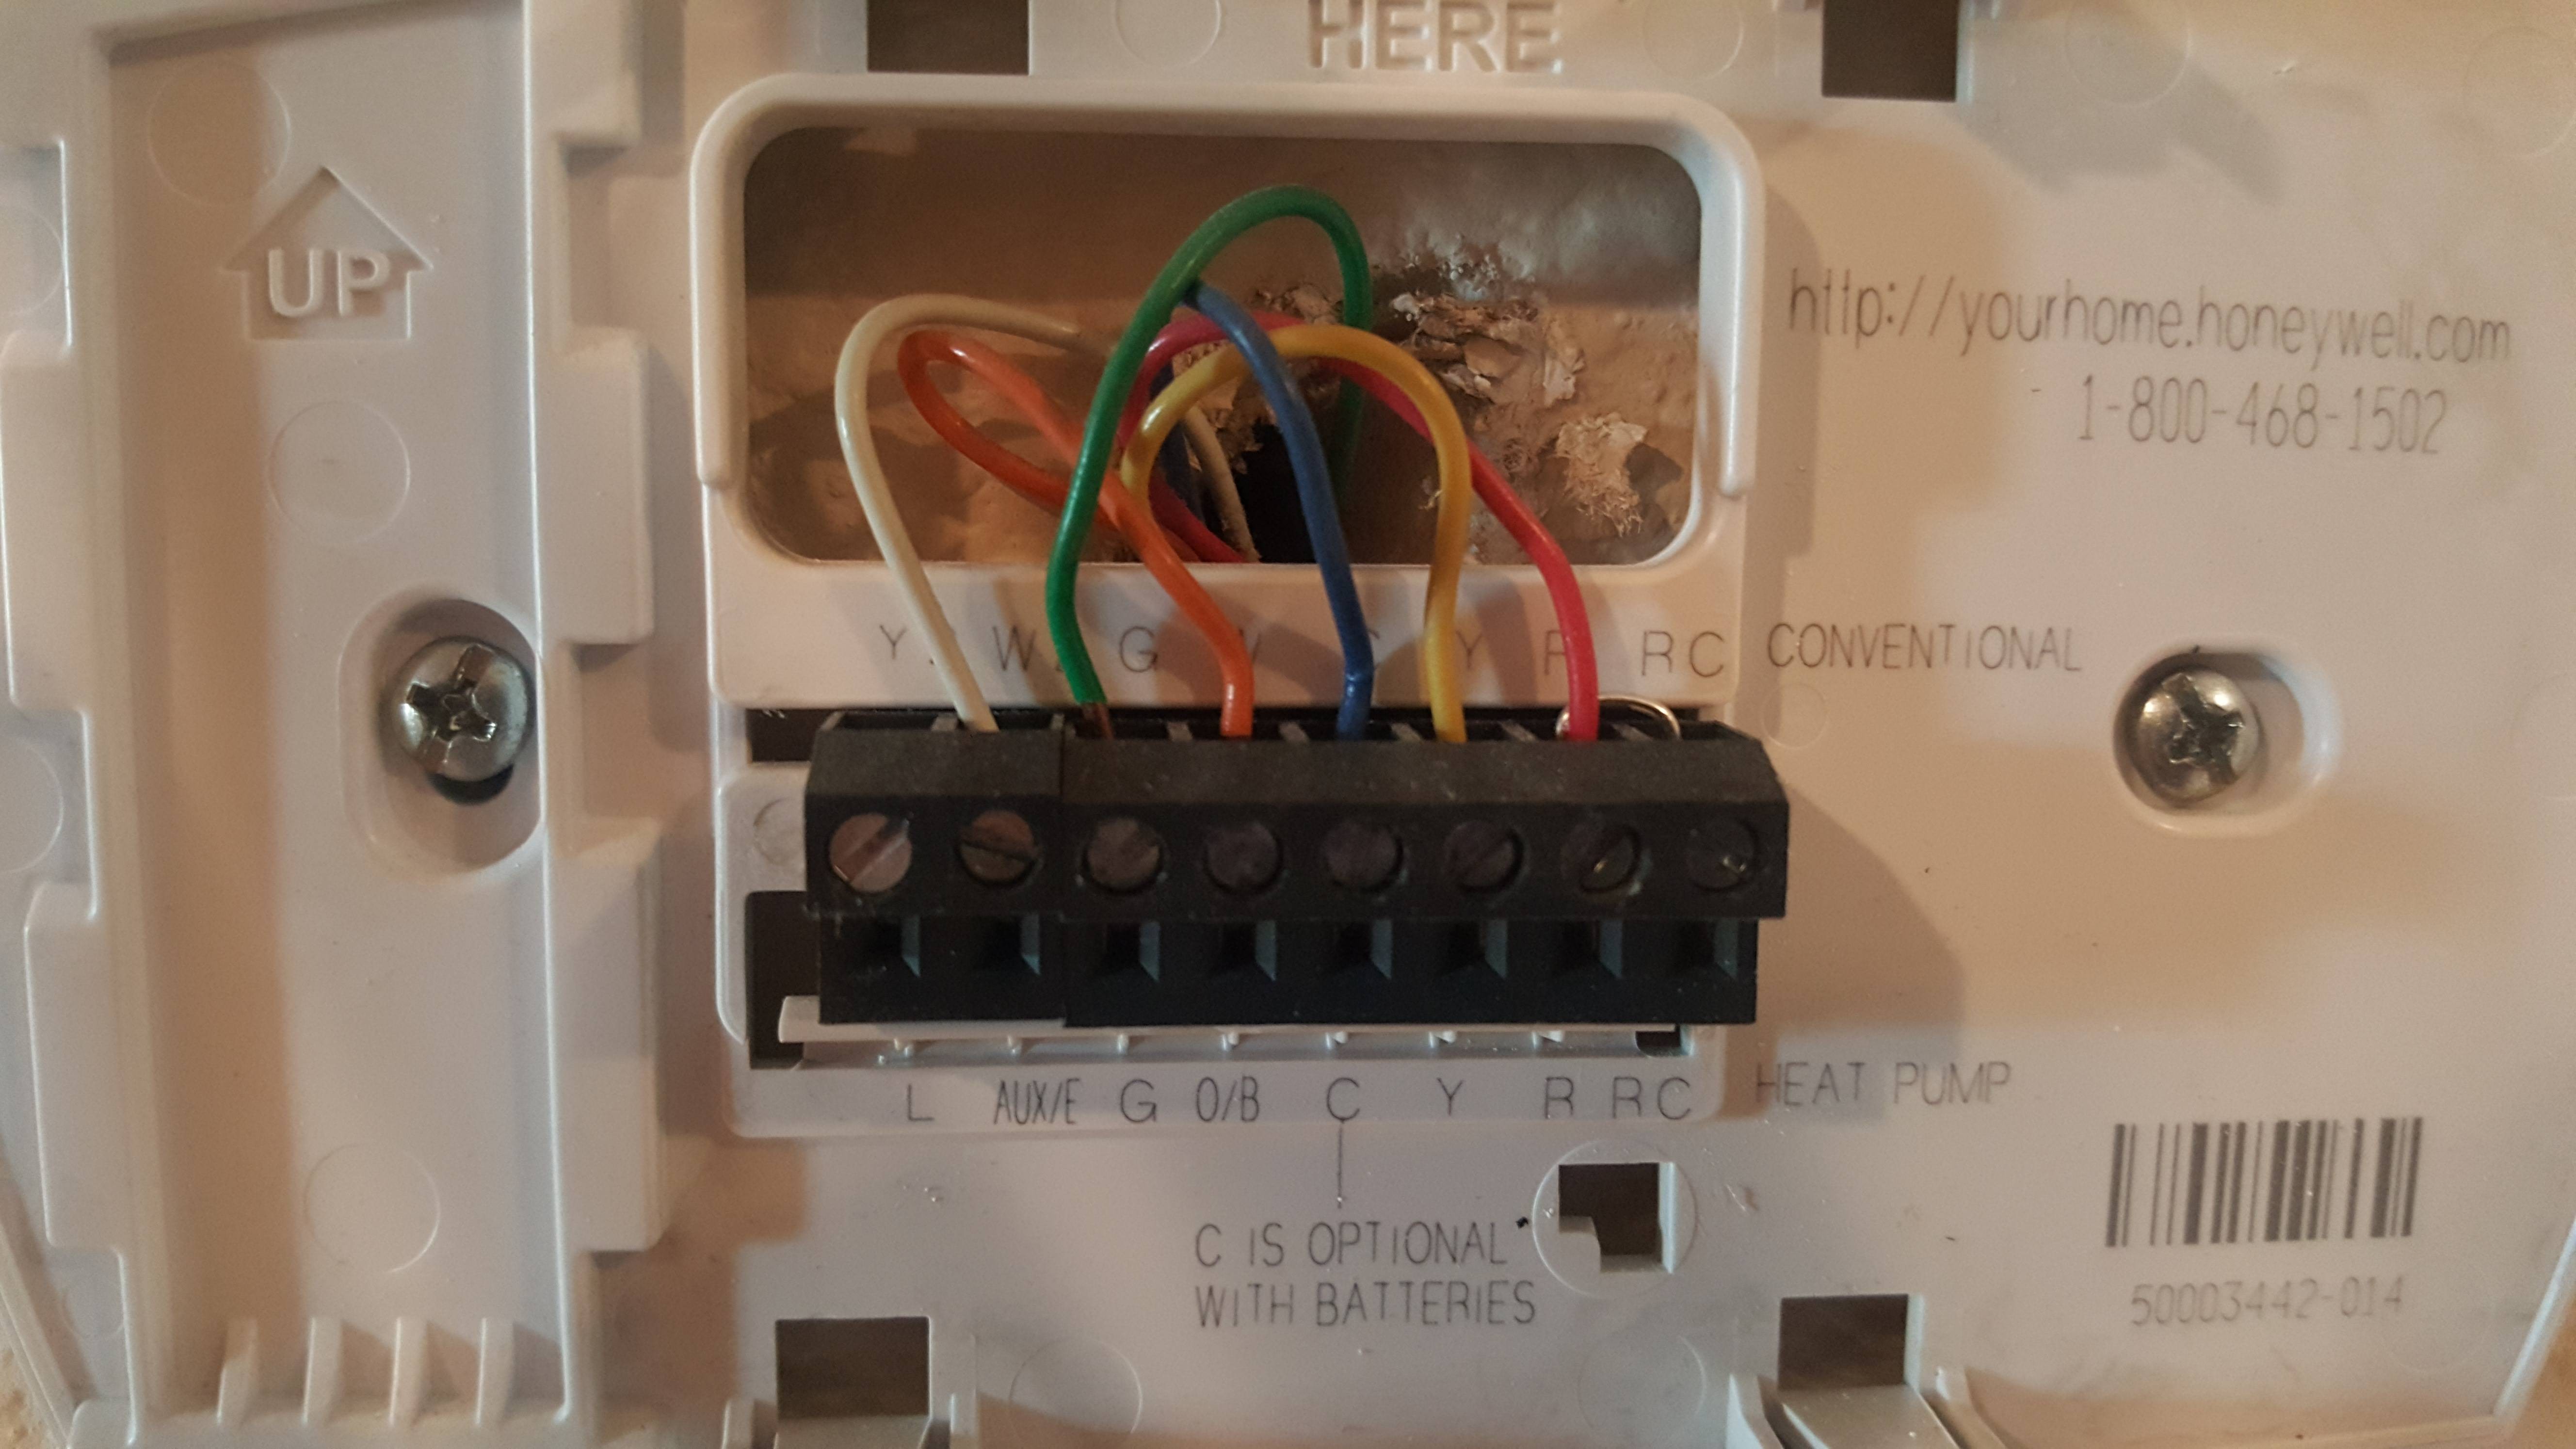
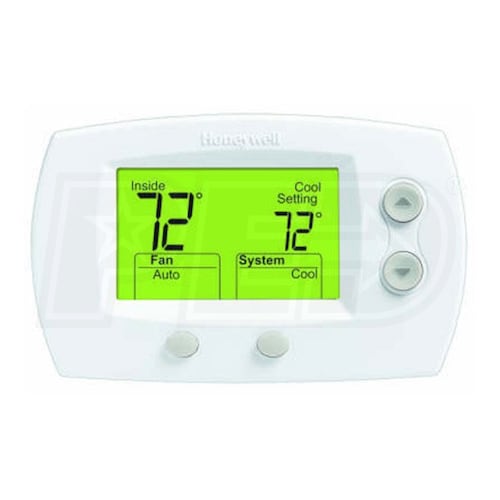
Contents hide 1 Honeywell TH5220D Non-Programmable Digital Thermostat 2 Product Application 3 Installation tips 3.1 Pre-installation checklist 4 Wallplate installation 5 Wiring 5.1 NOTES 5.2 Wiring 6 Terminal Designations 6.1 Wiring diagrams 7 Power options & mounting 8 Installer setup 8.1 Setup Function Settings & Options 9 Installer system test 9.1 System Test SystemStatus 10 […]. Optional 24VAC common connection. In Installer Setup, set system type to Heat Only. In Installer Setup, set system type to 1Heat/1Cool Heat Pump & changeover valve to 0 or B. Page 12: Power Options Installation Guide Power options & mounting AC Power The thermostat can be powered by 24 VAC power, or by batteries.




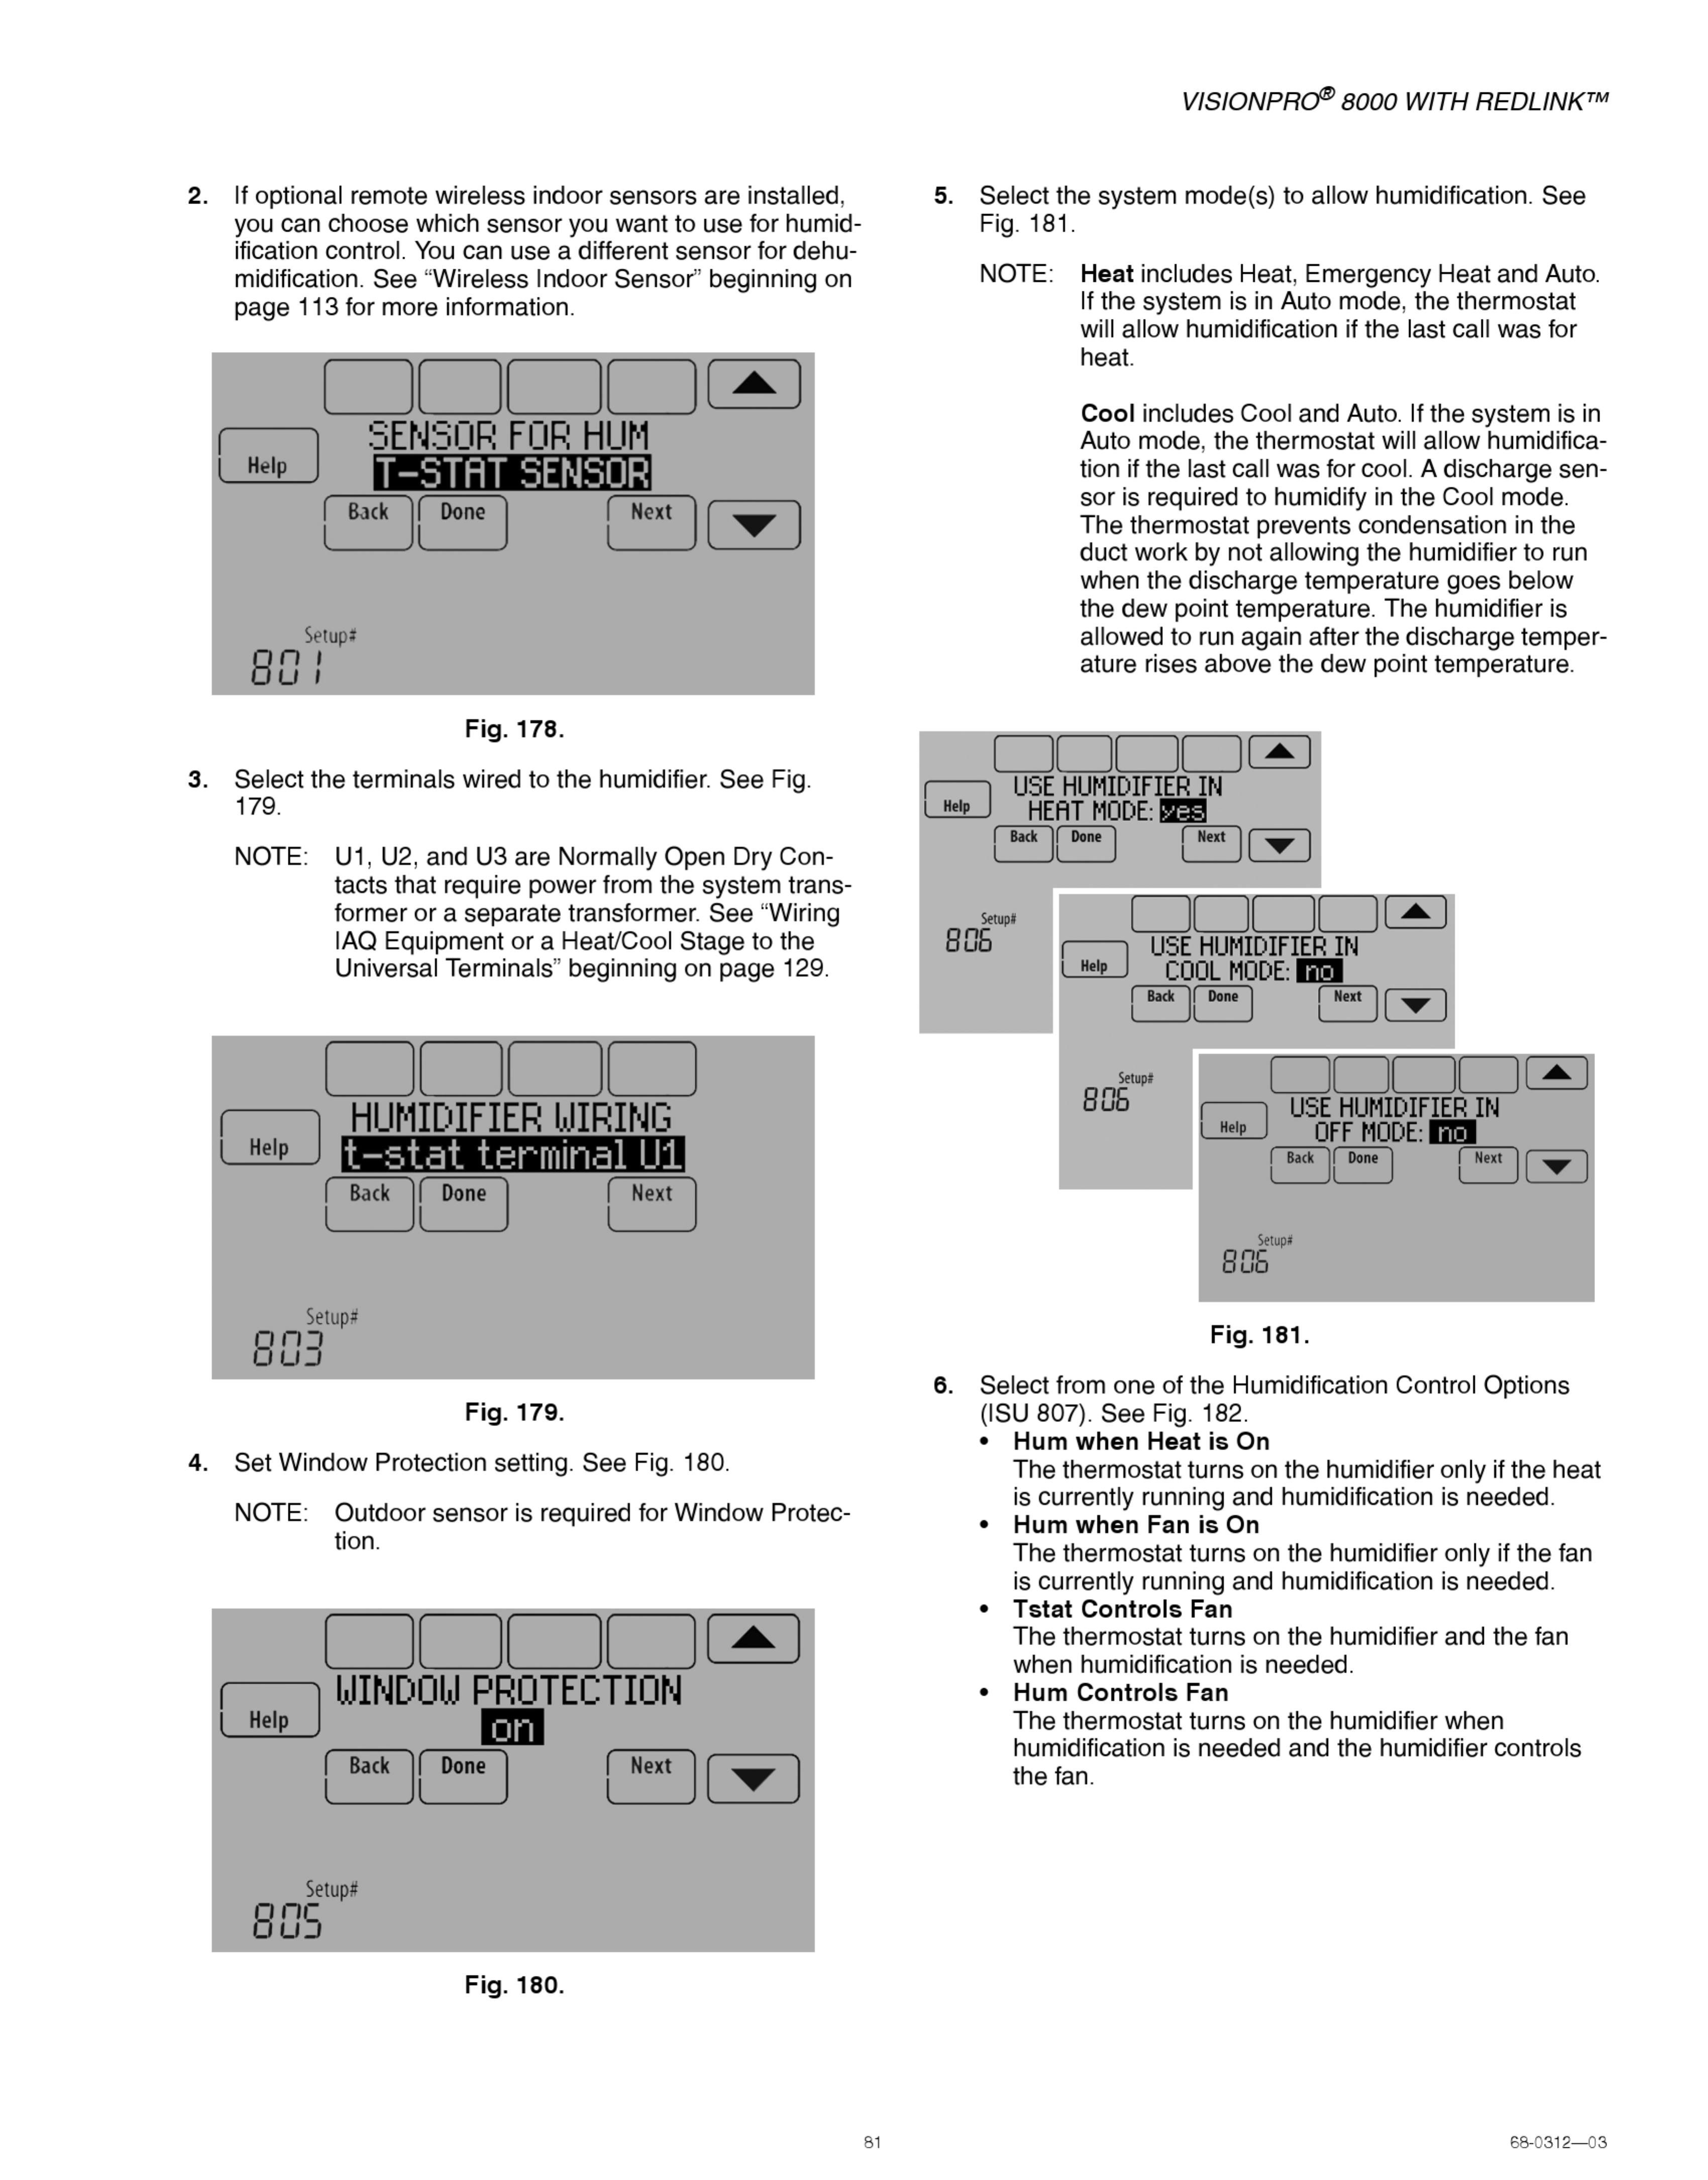
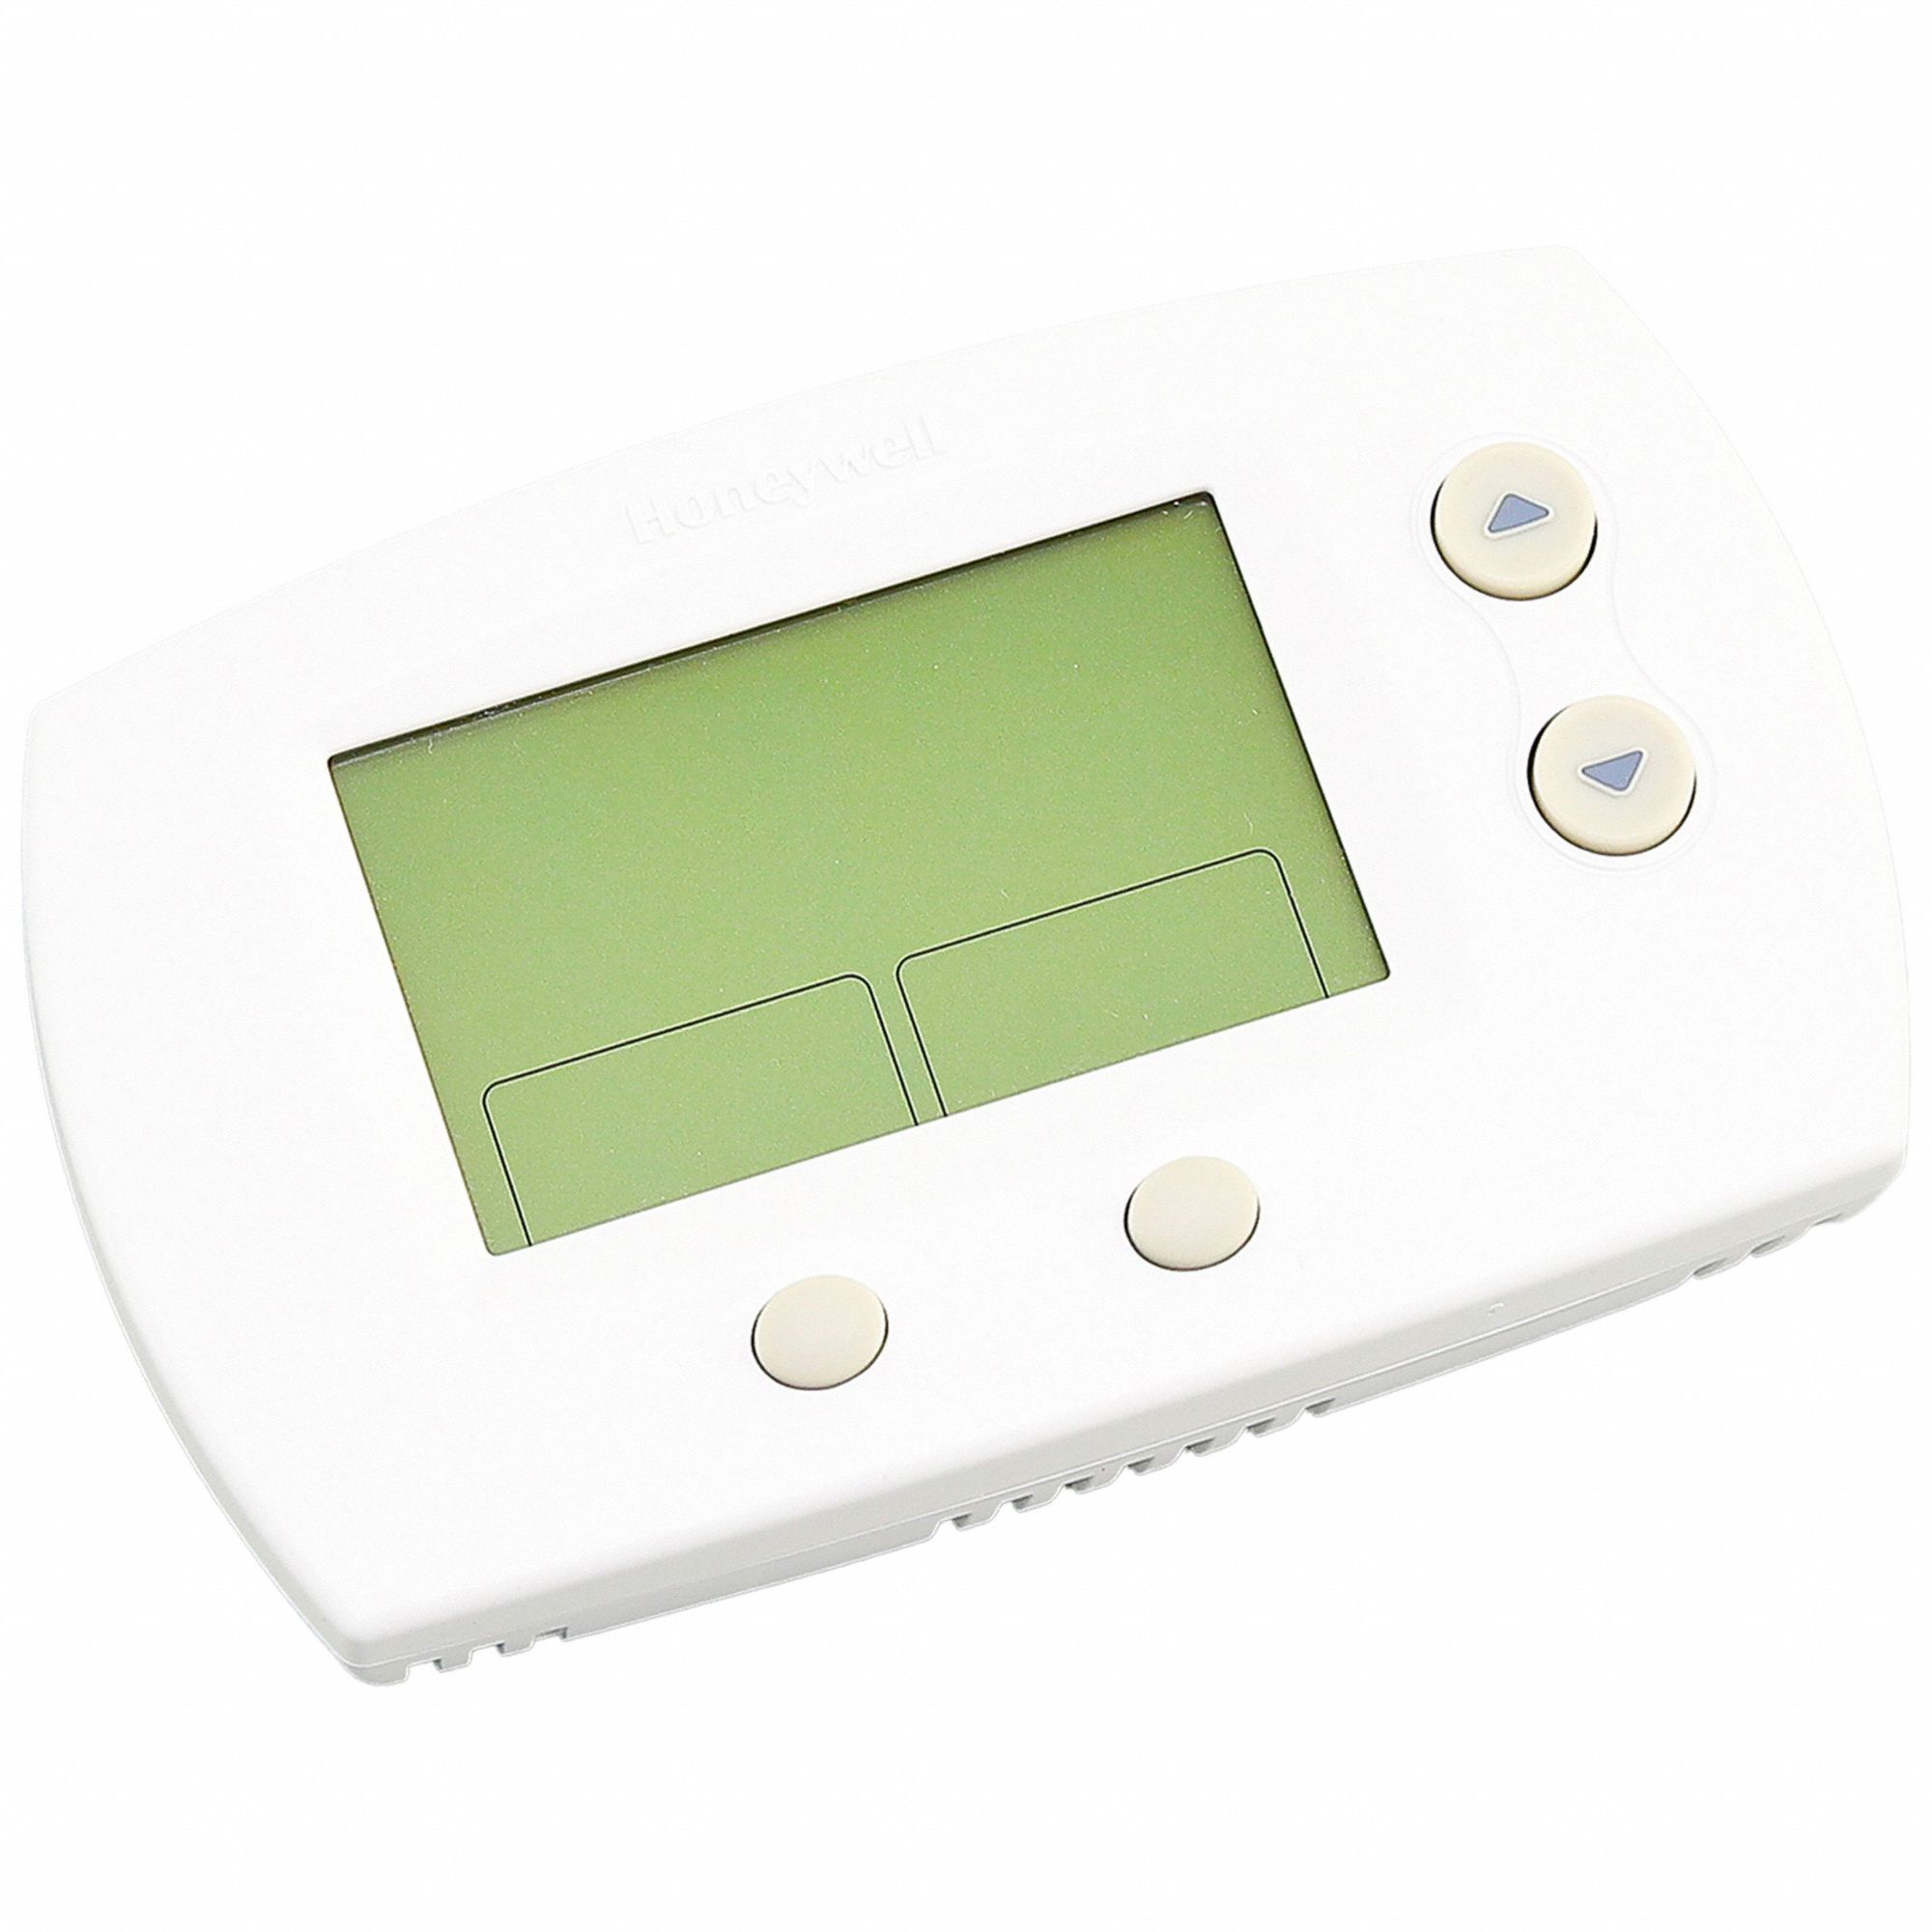

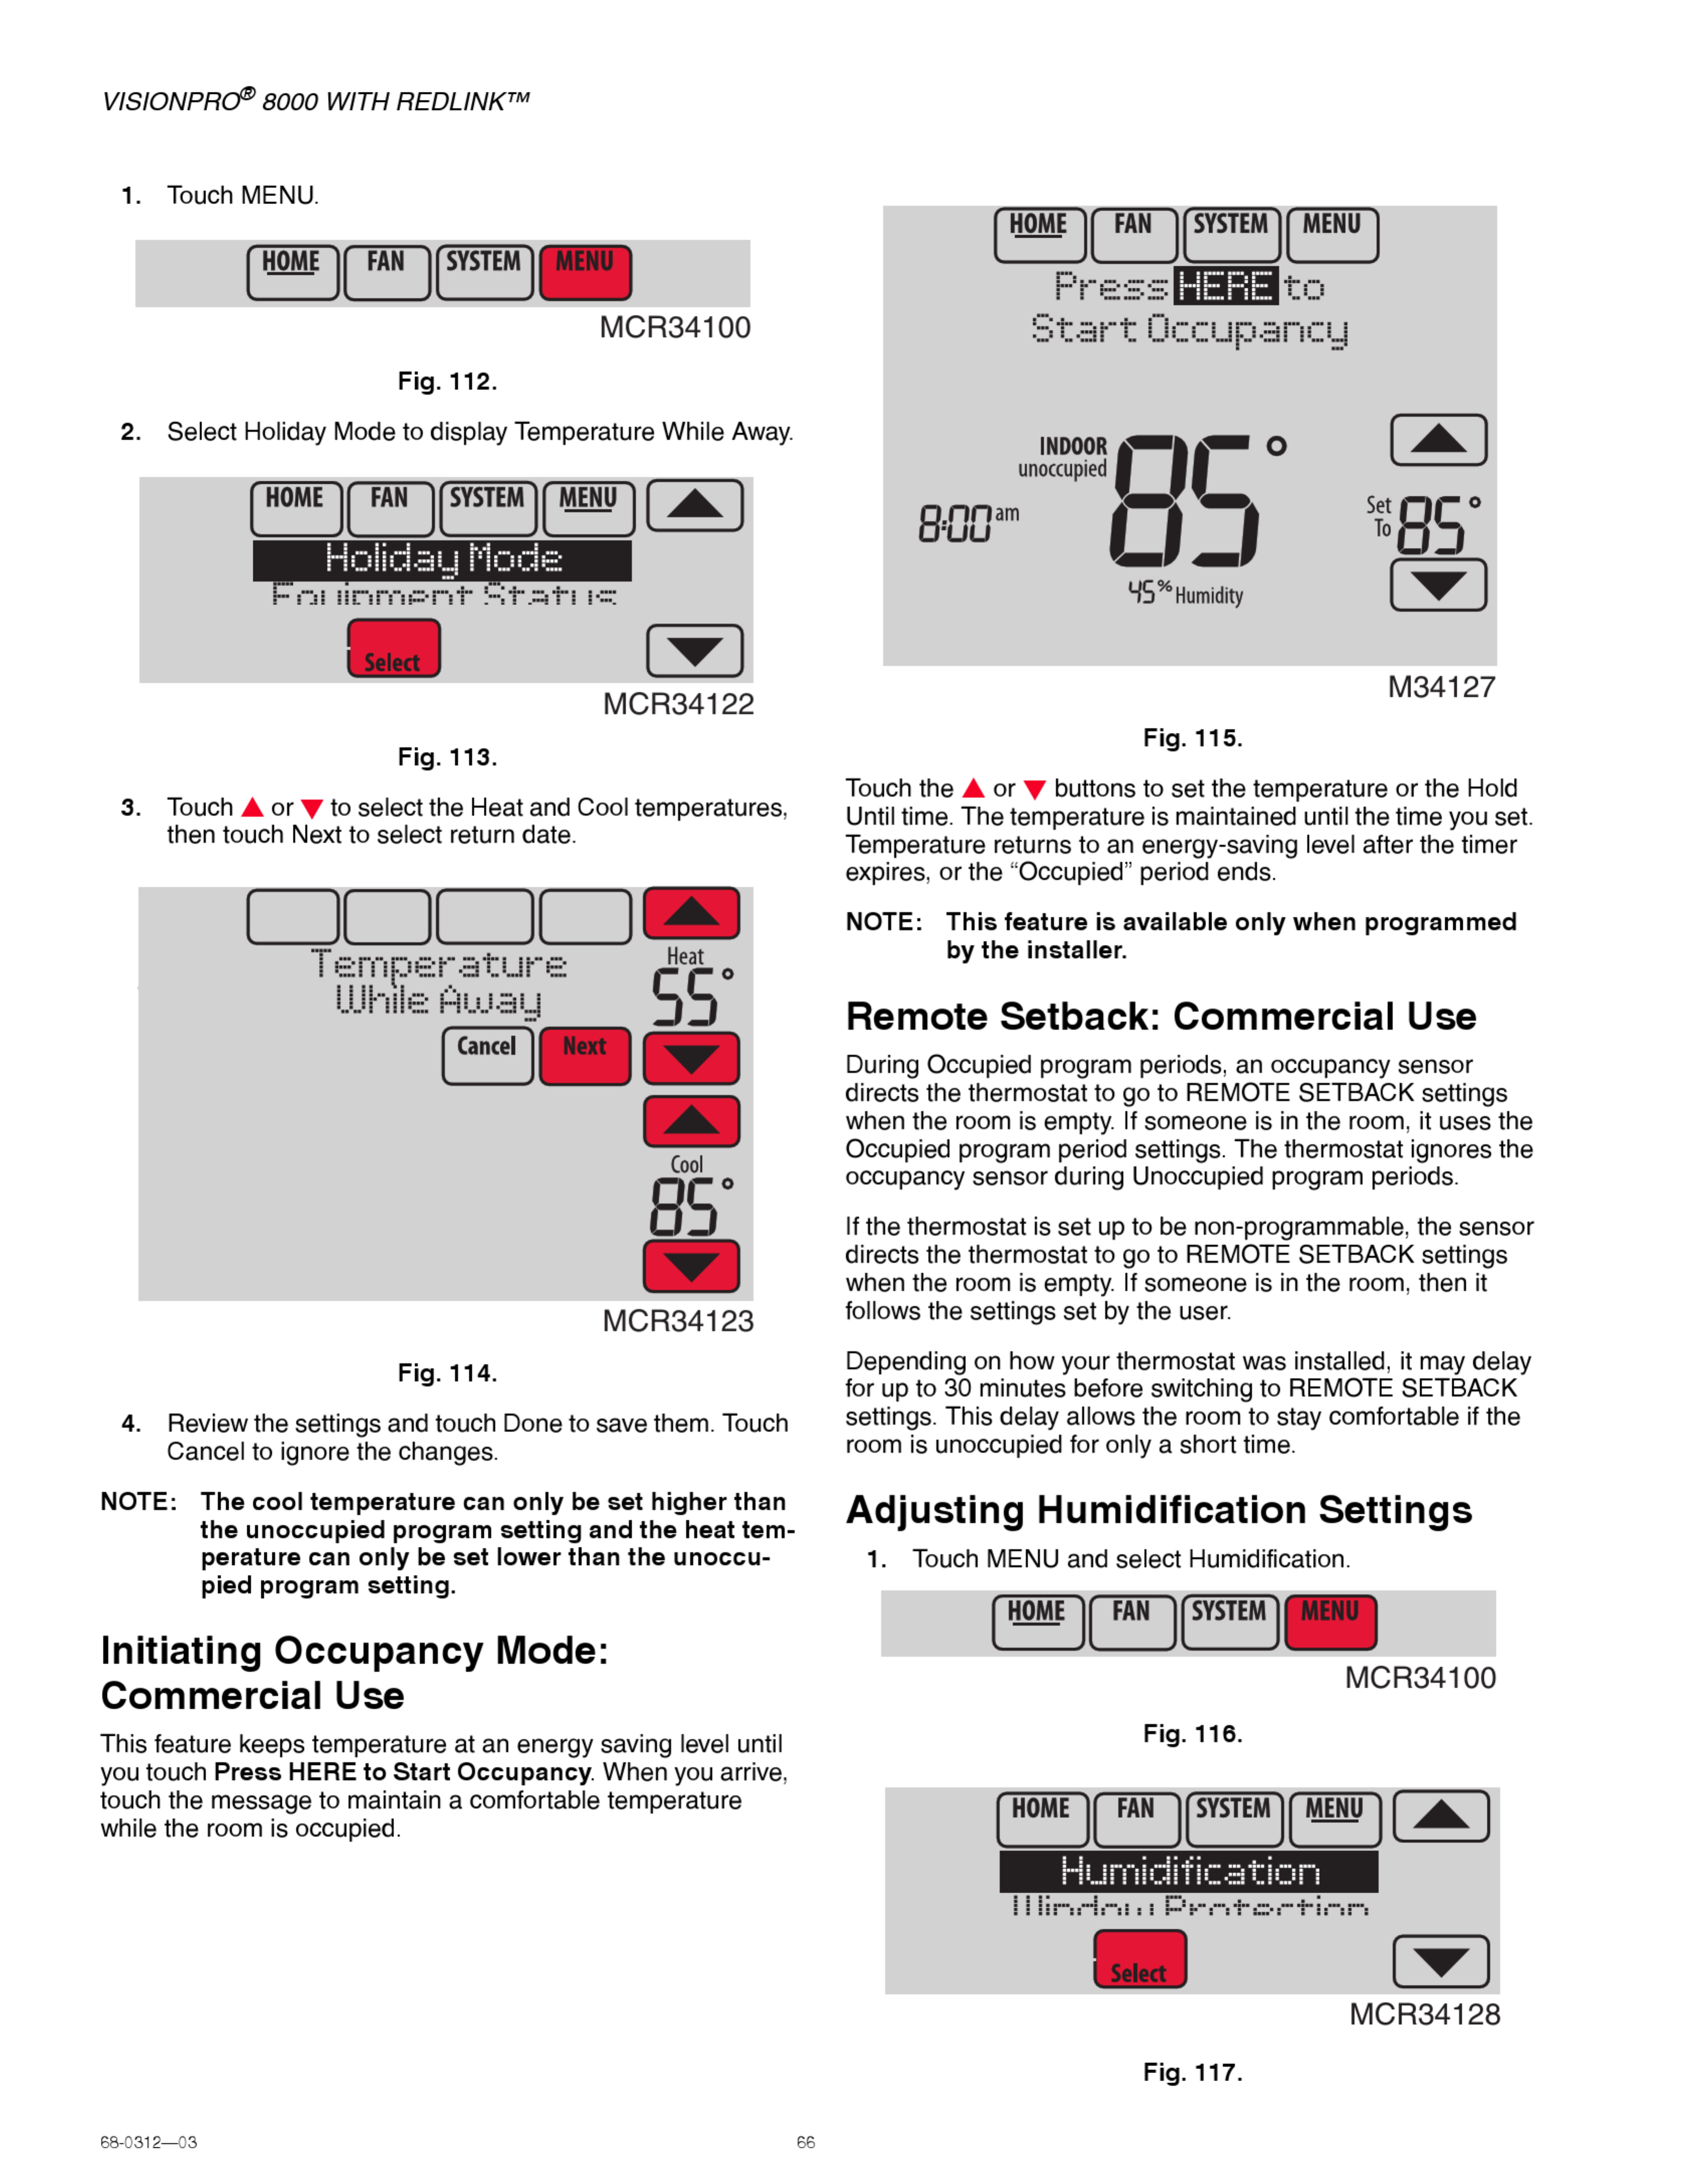







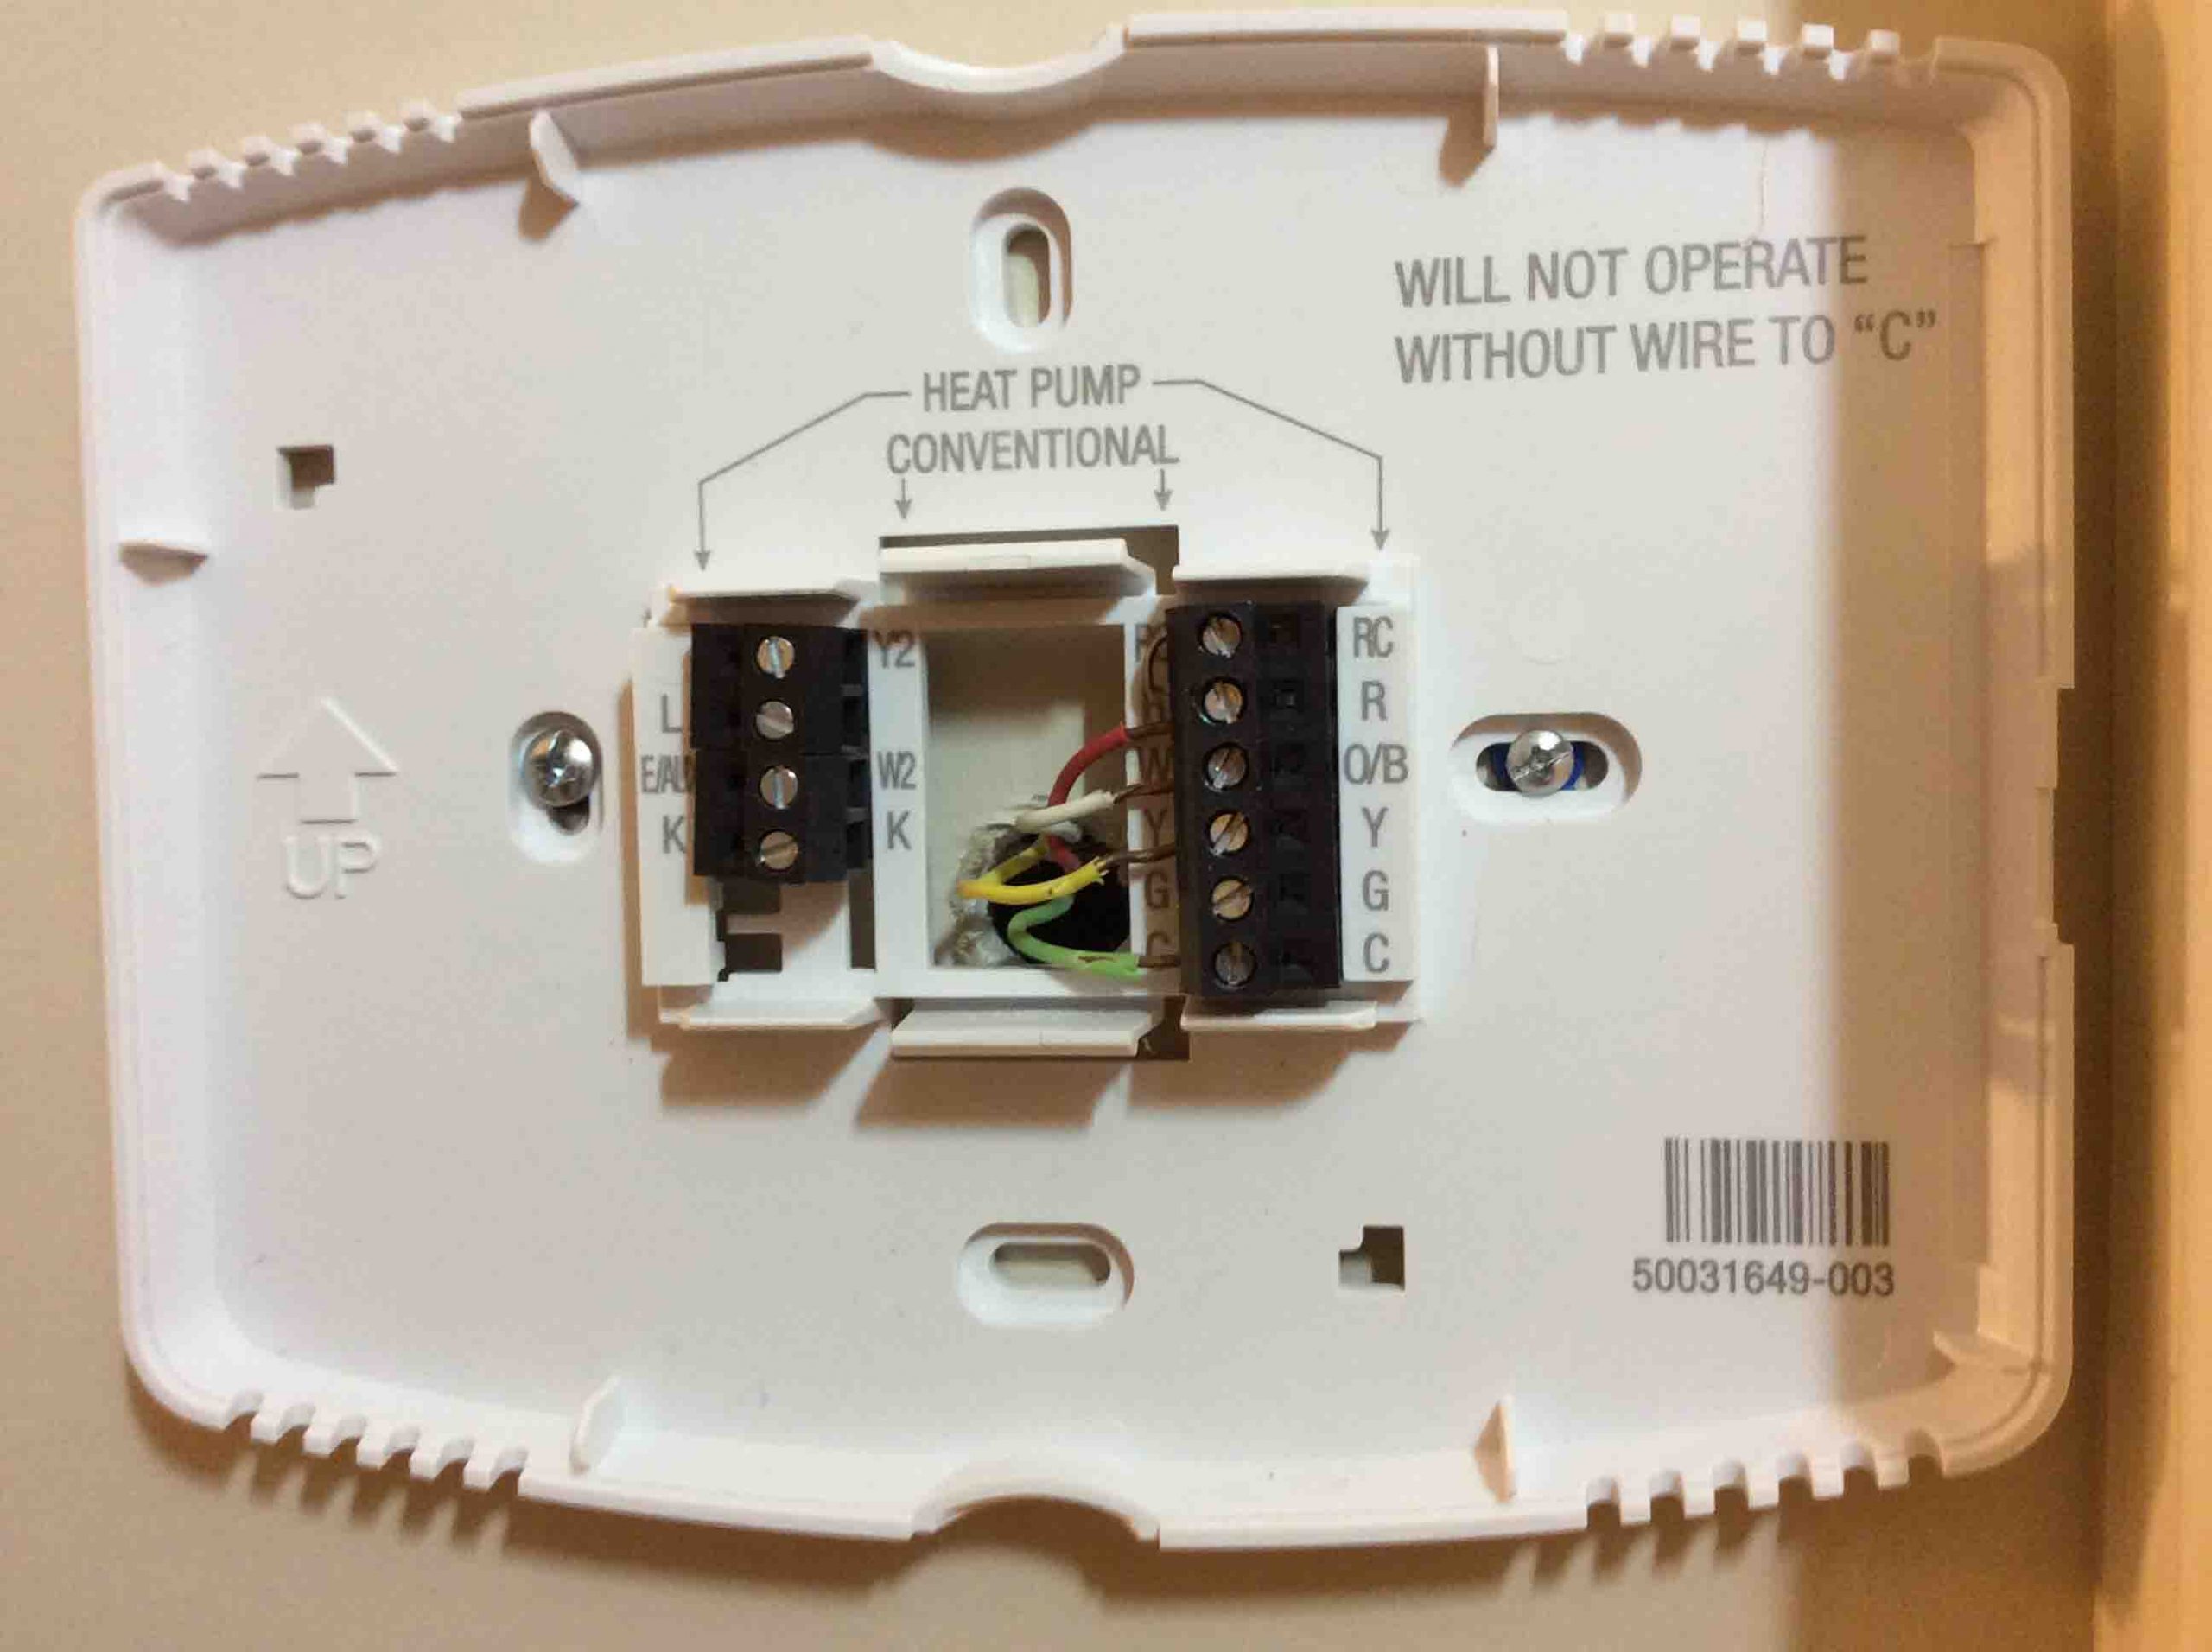
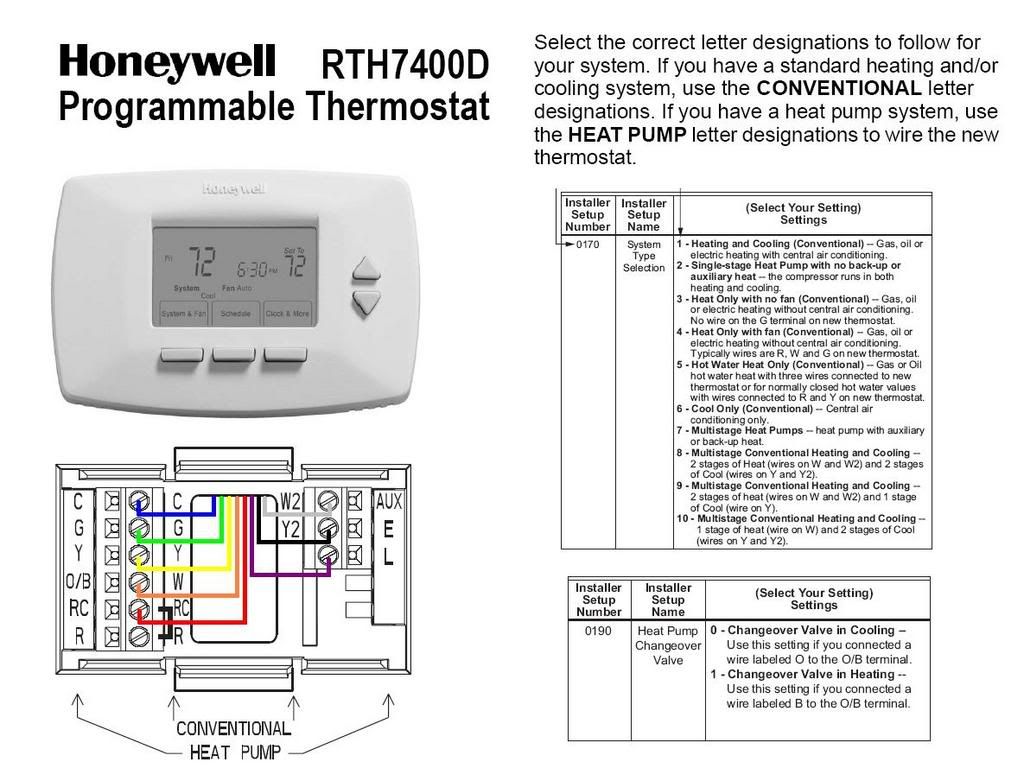
[9] In Installer Setup, set system type to 2Heat/2Cool Heat Pump. [10] In Installer Setup, set system type to 3Heat/2Cool Heat Pump. [11] L terminal sends a continuous output when thermostat is set to Em. Heat. Connect to Honeywell zoning panels to switch the panel to Emergency Heat. [12] Install field jumper between Aux and E if. Installation Guide . Pre-installation checklist Package contents . Check to make sure your package includes the following items: FocusPRO ™ TH5220D digital thermostat (wallplate attached to back) Operating manual Wall anchors and mounting screws (2 each) AA alkaline batteries (2) Required tools & supplies • No. 2 Phillips screwdriver